Custom Statuses
Having trouble tracking sales stages, payment methods, or canceled payments? Classify payments with color coding to quickly navigate the stats section and lead card.
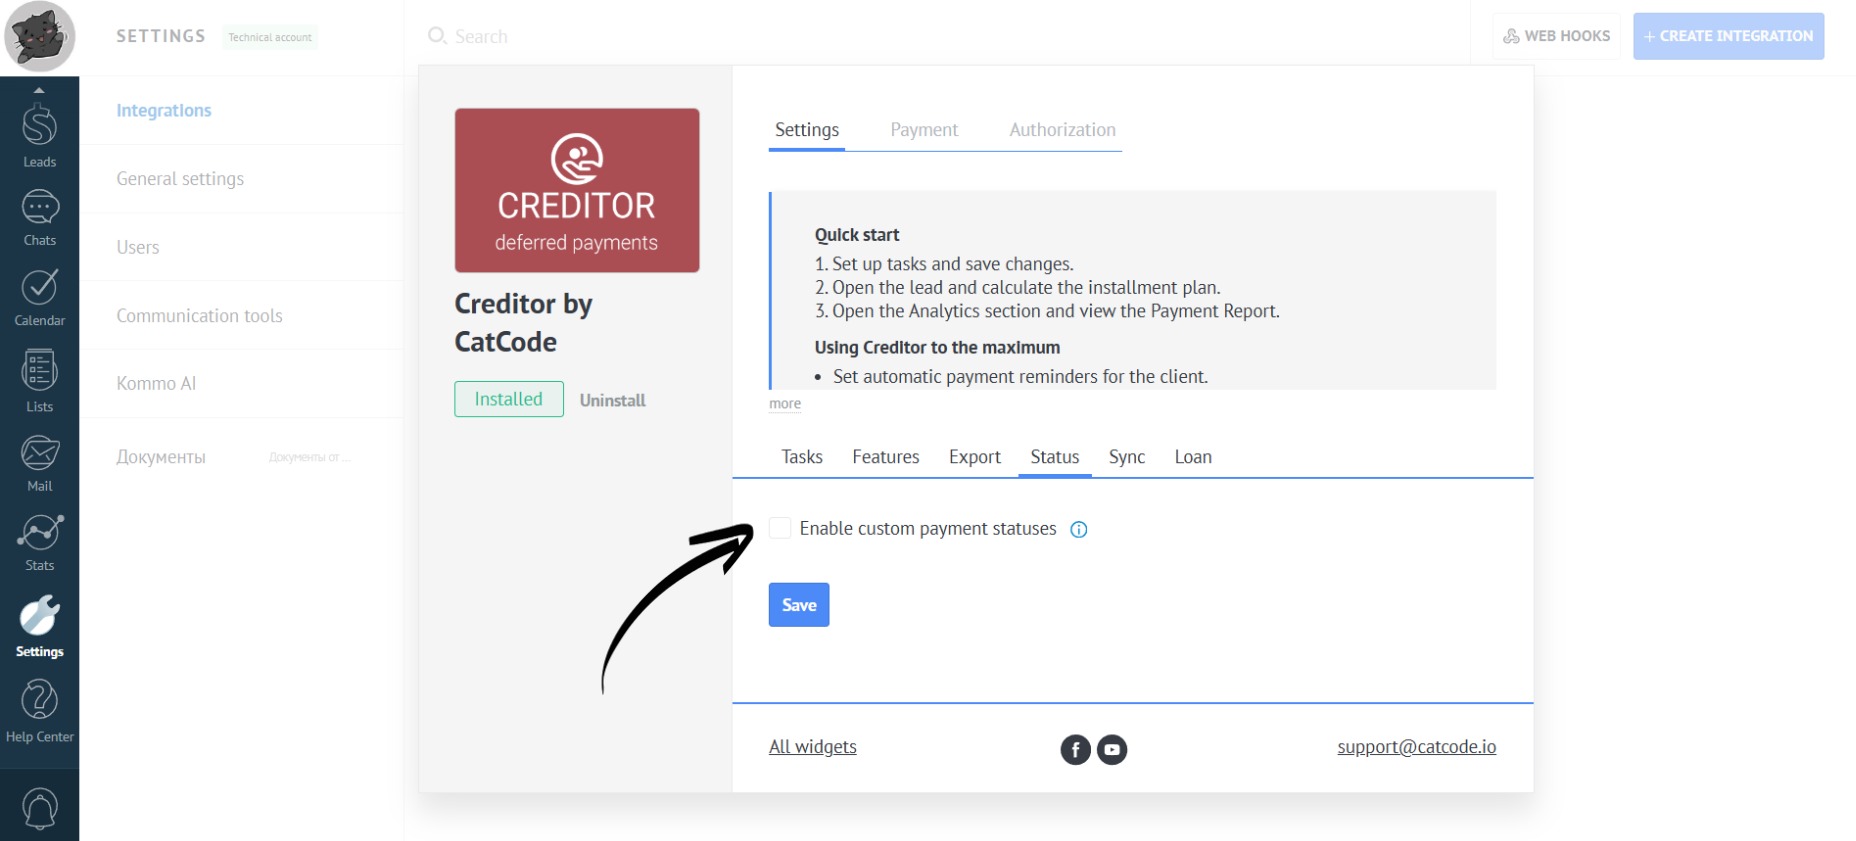
- In the app settings, open the “Status” tab:

- Check the box “Enable custom payment statuses” to create your own personalized statuses for payments:
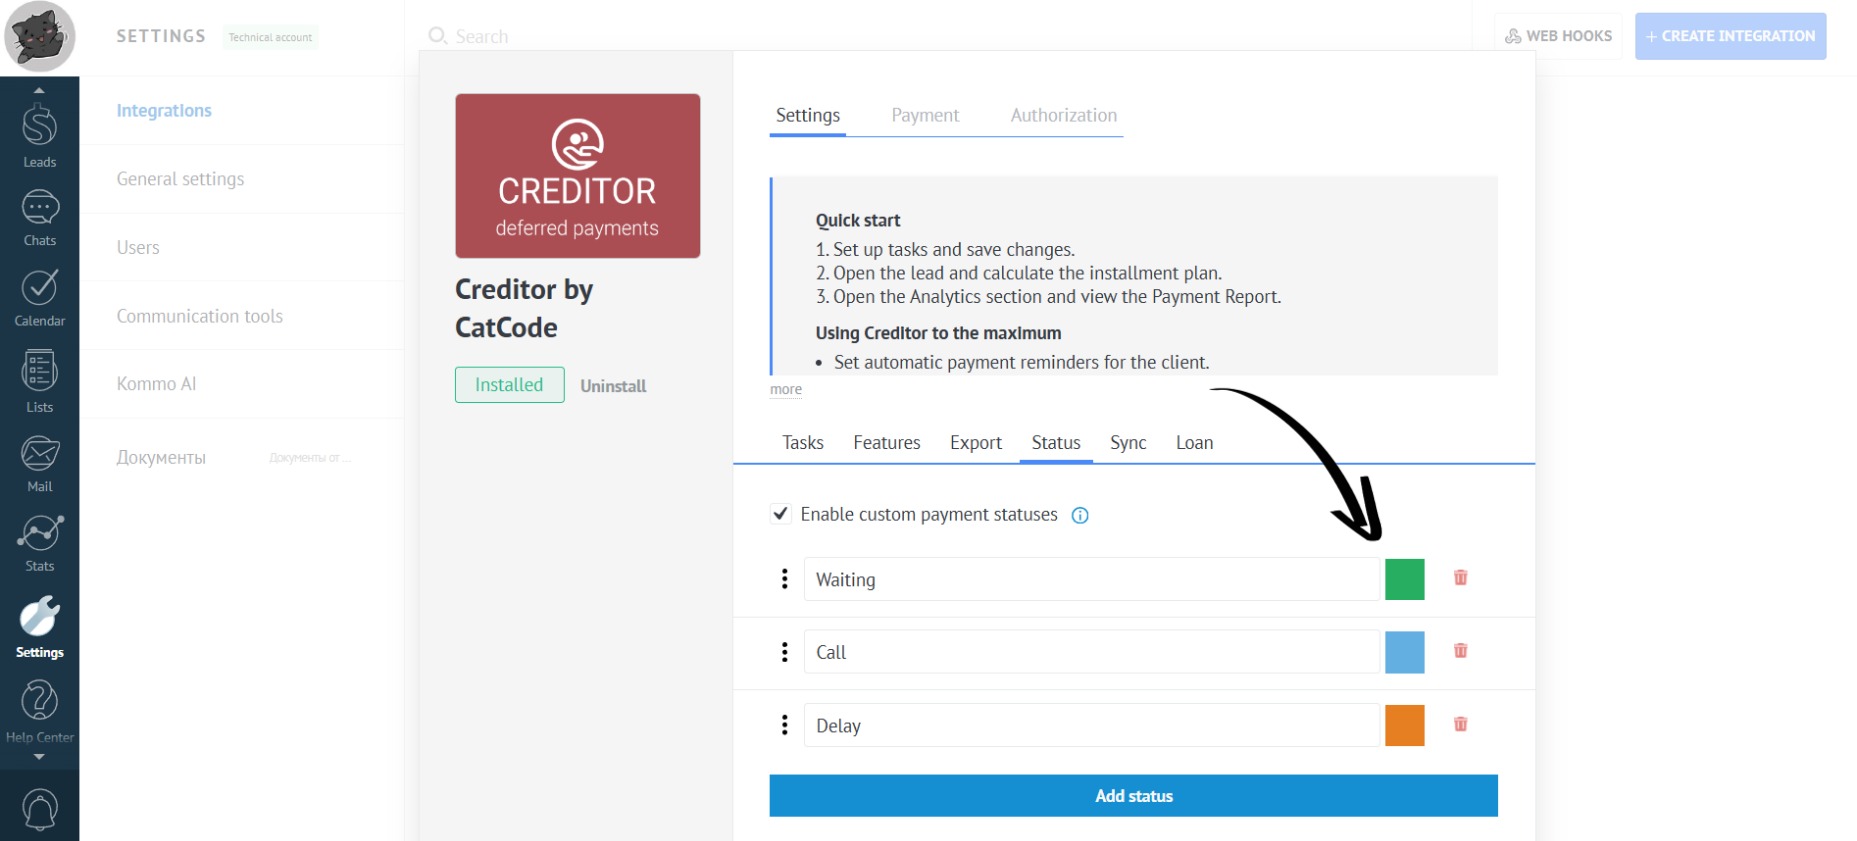
- By default, there are three statuses set up here:
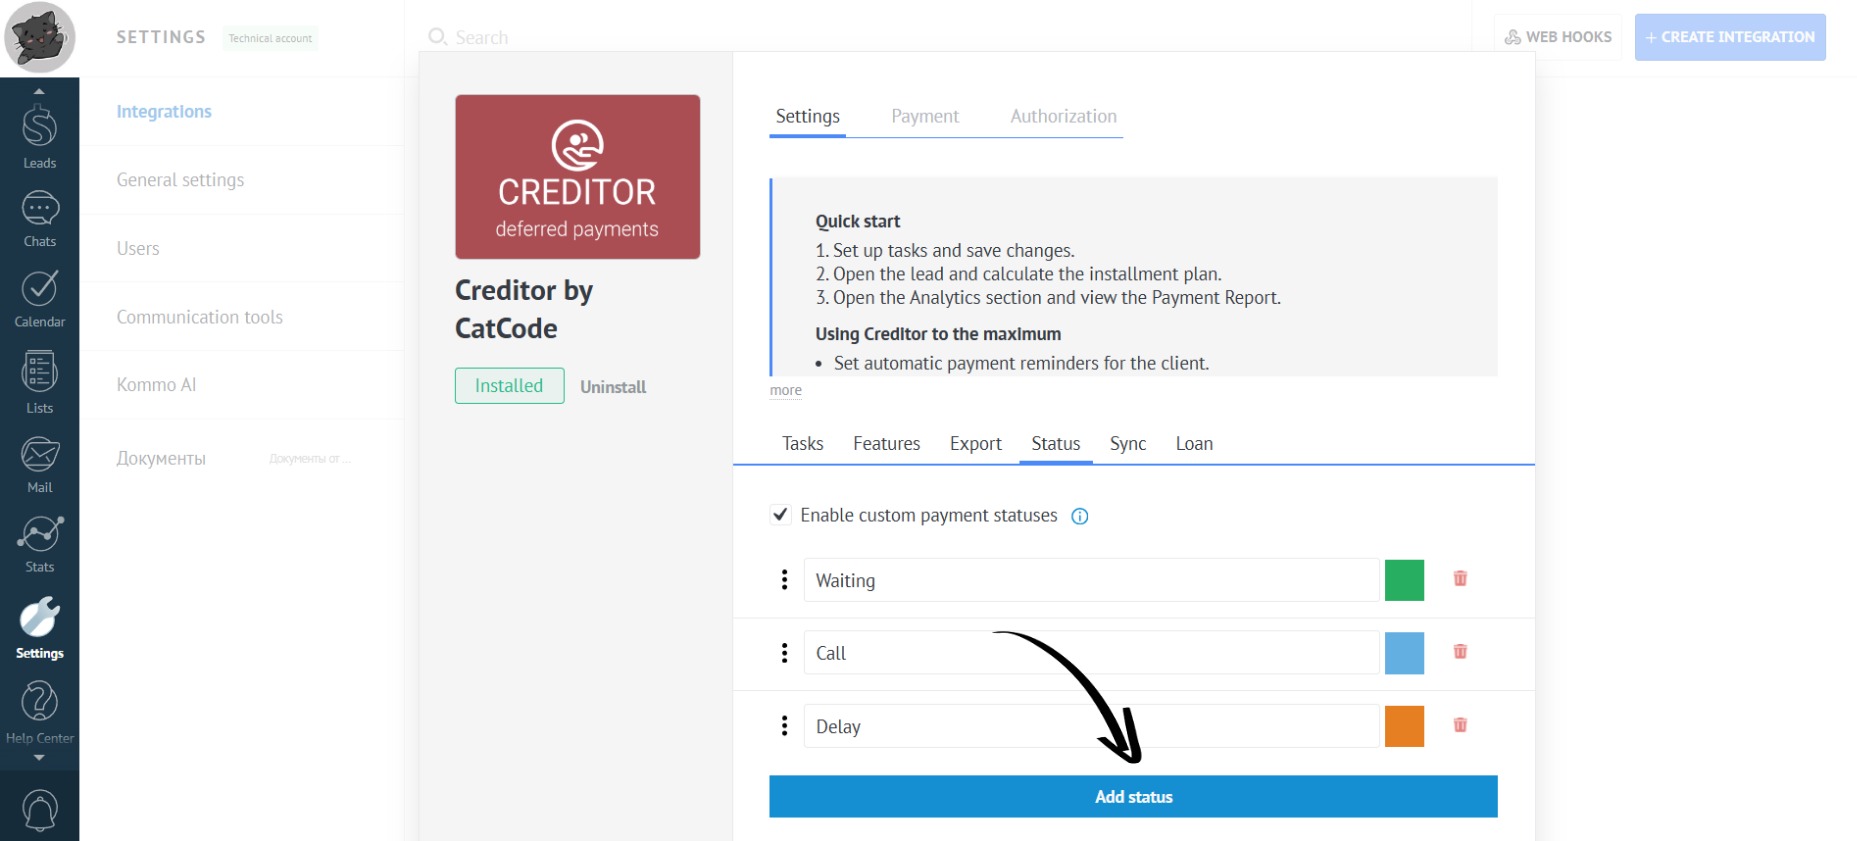
- You can add your own status by clicking the “Add Status” button:
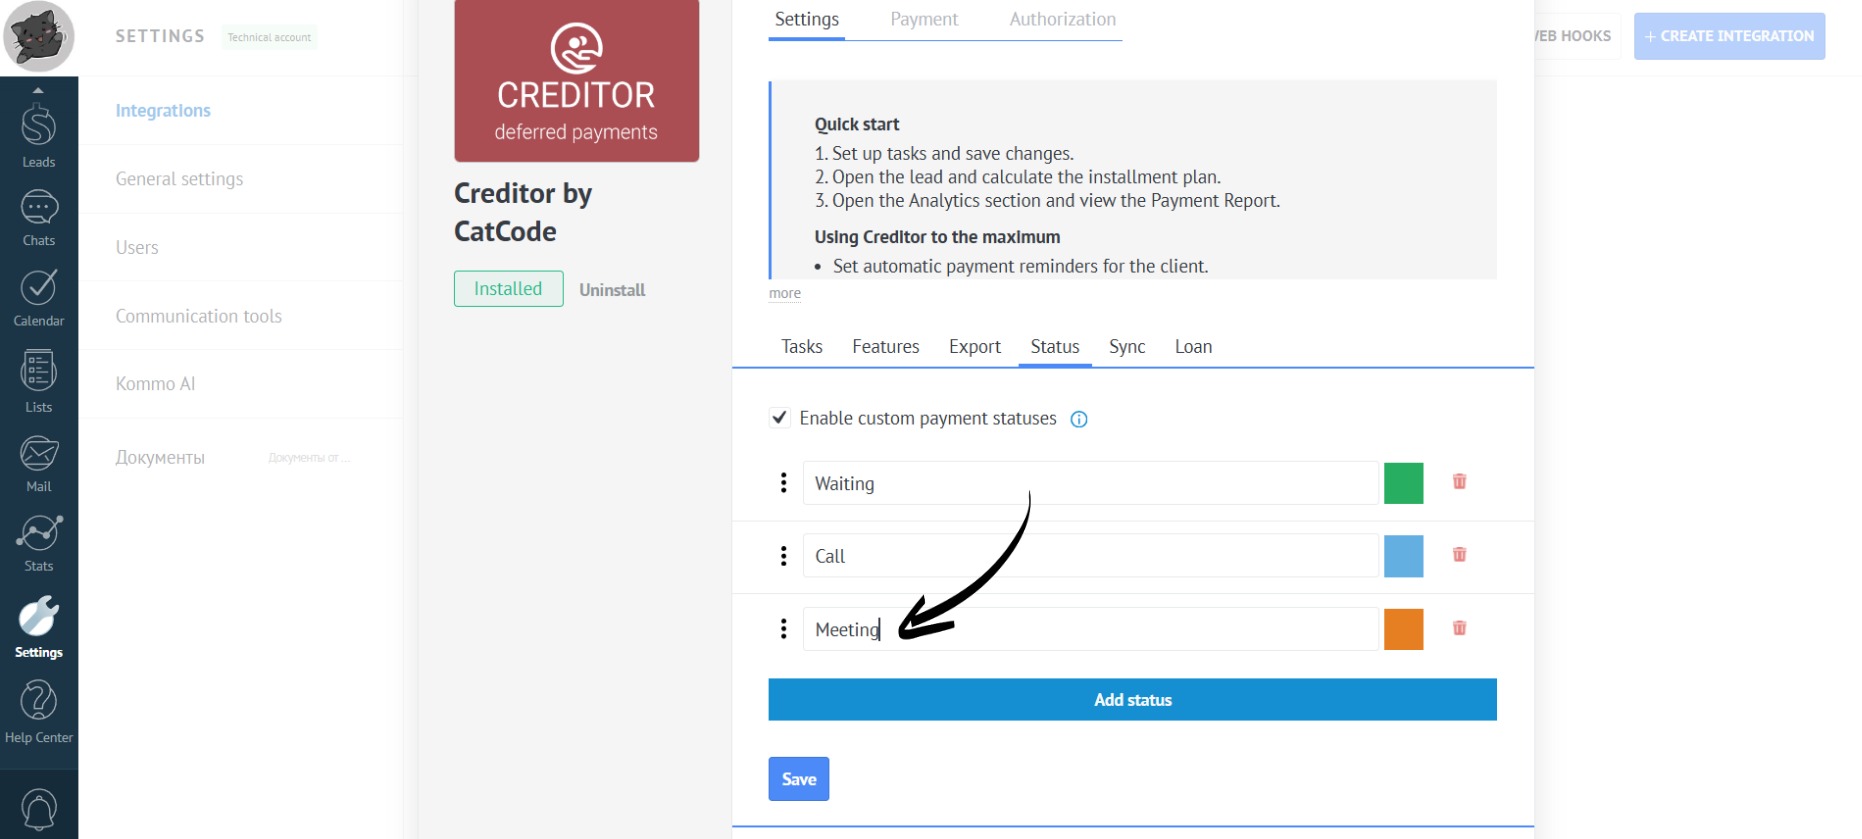
- To change the name of a custom status, simply click on the one you want and enter the new name:
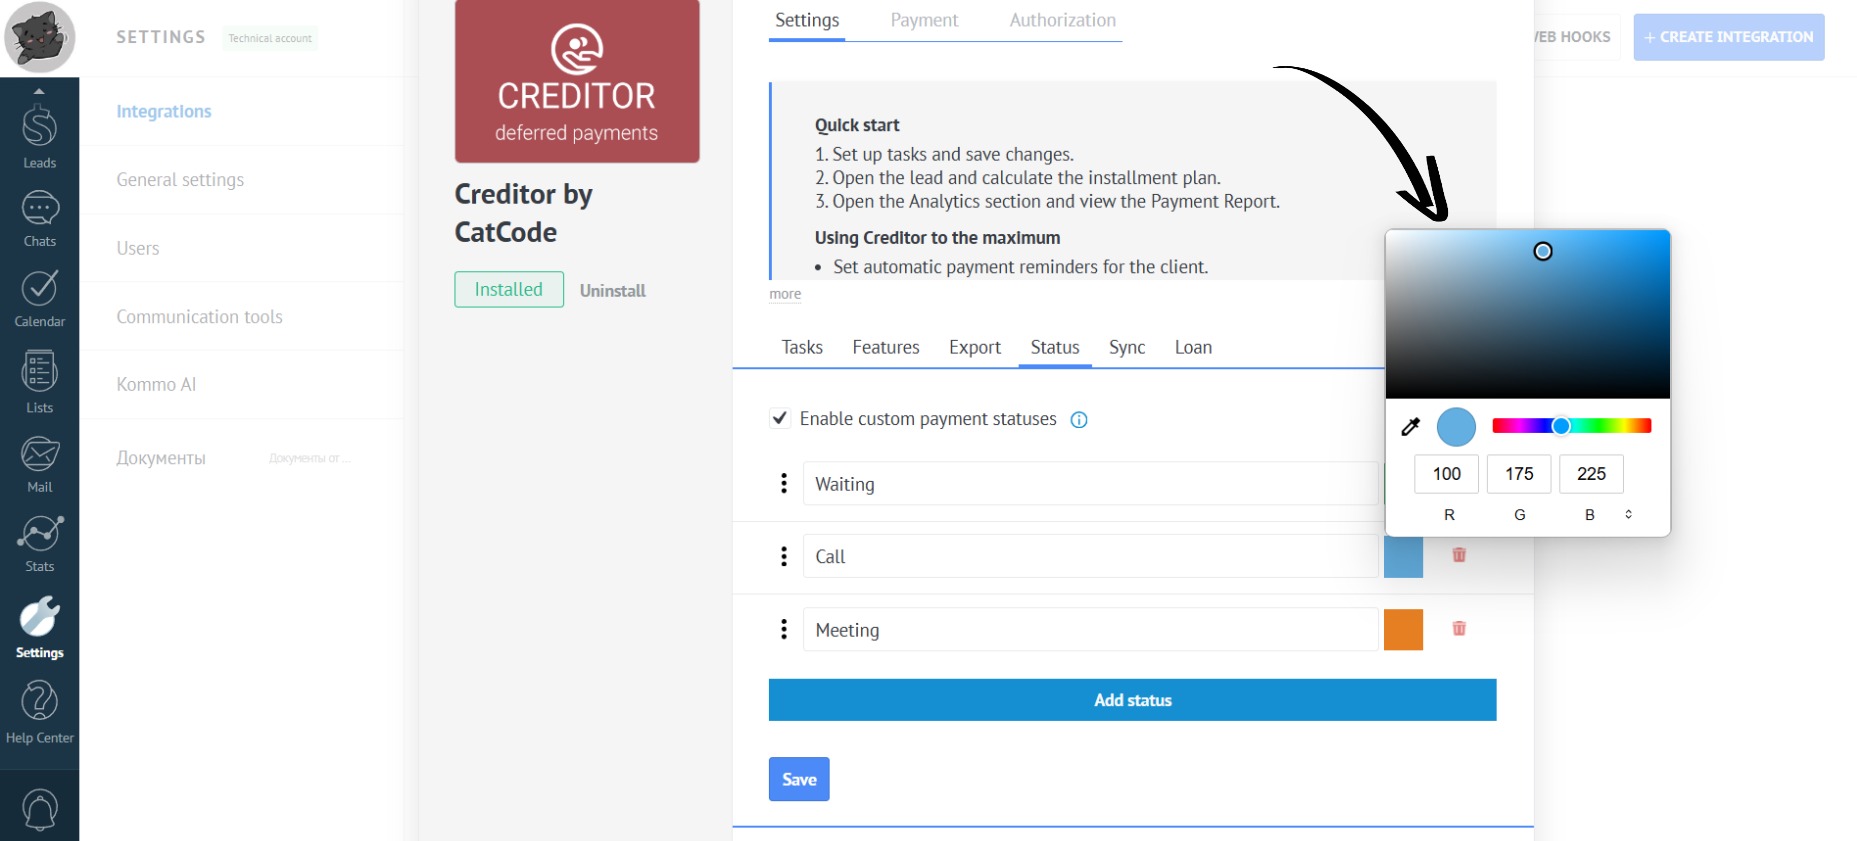
- You can also choose the desired color for the custom status by clicking on the colored square:
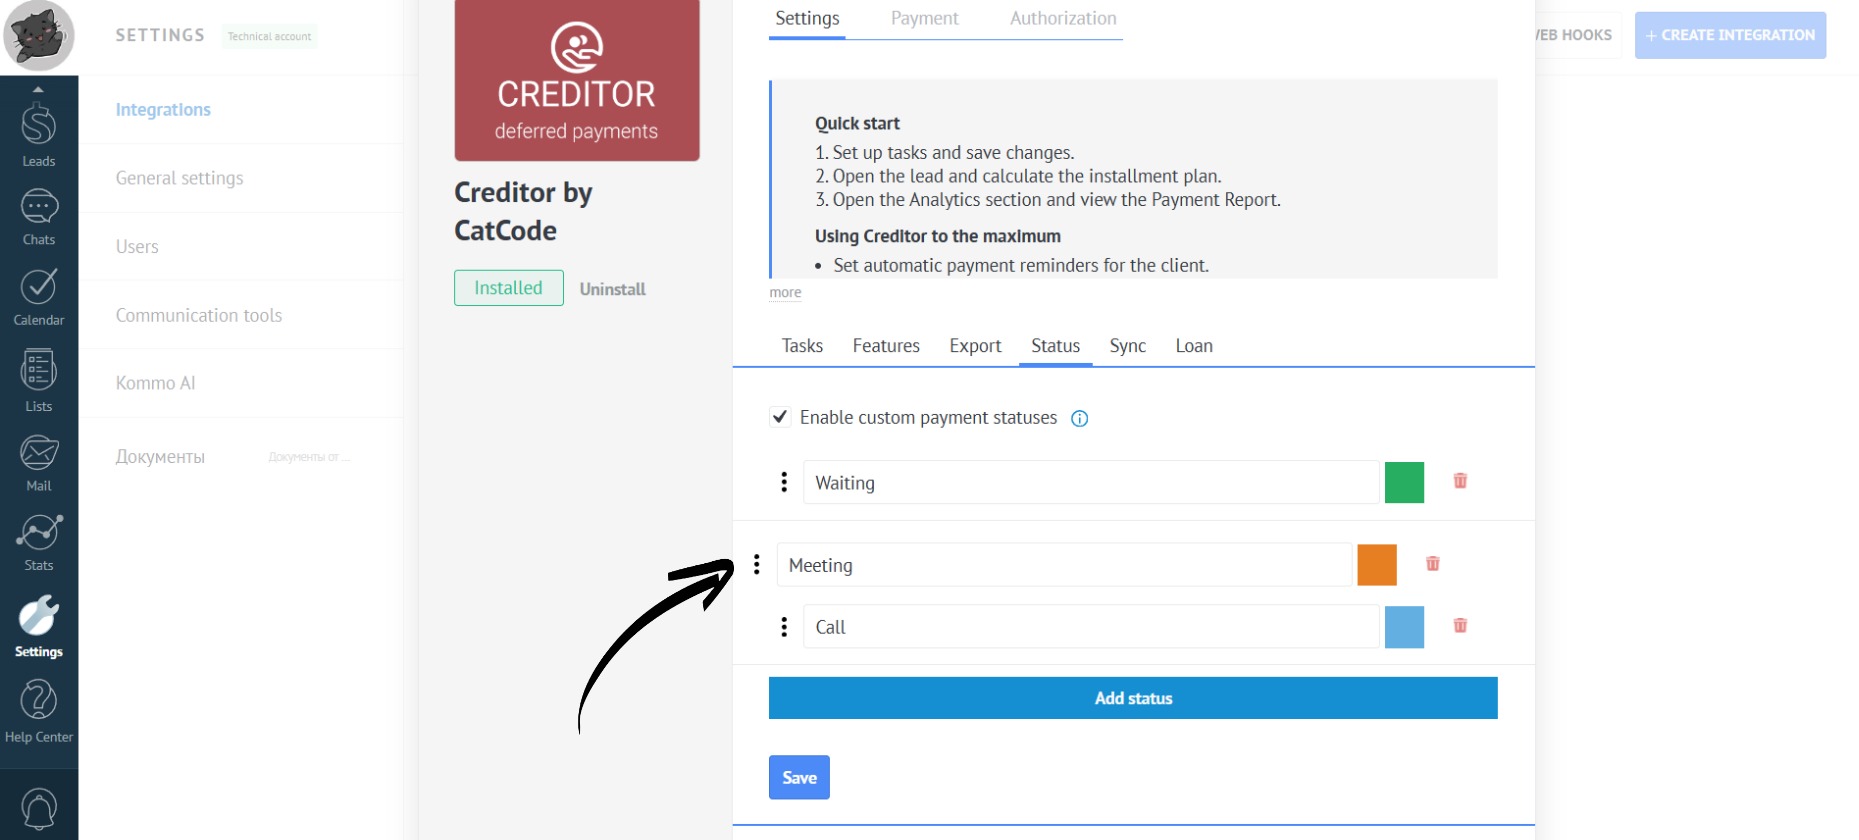
- To change the order of the statuses, click and hold the three dots and drag the status to the desired position:
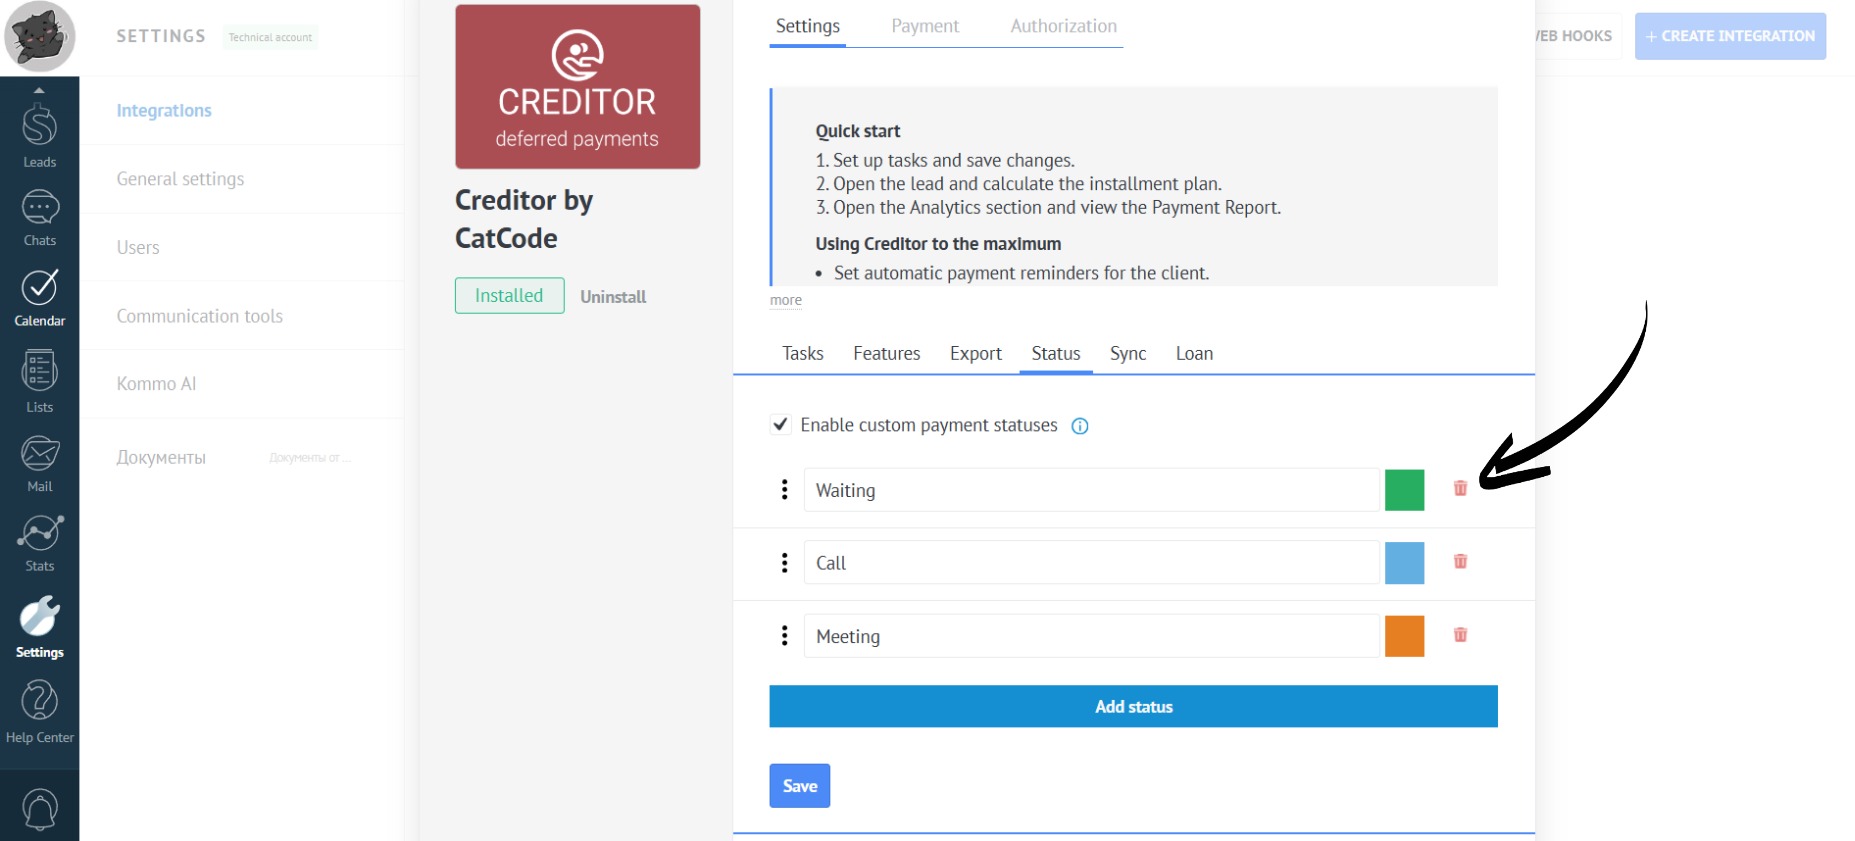
- To delete a status, simply click on the trash can icon:
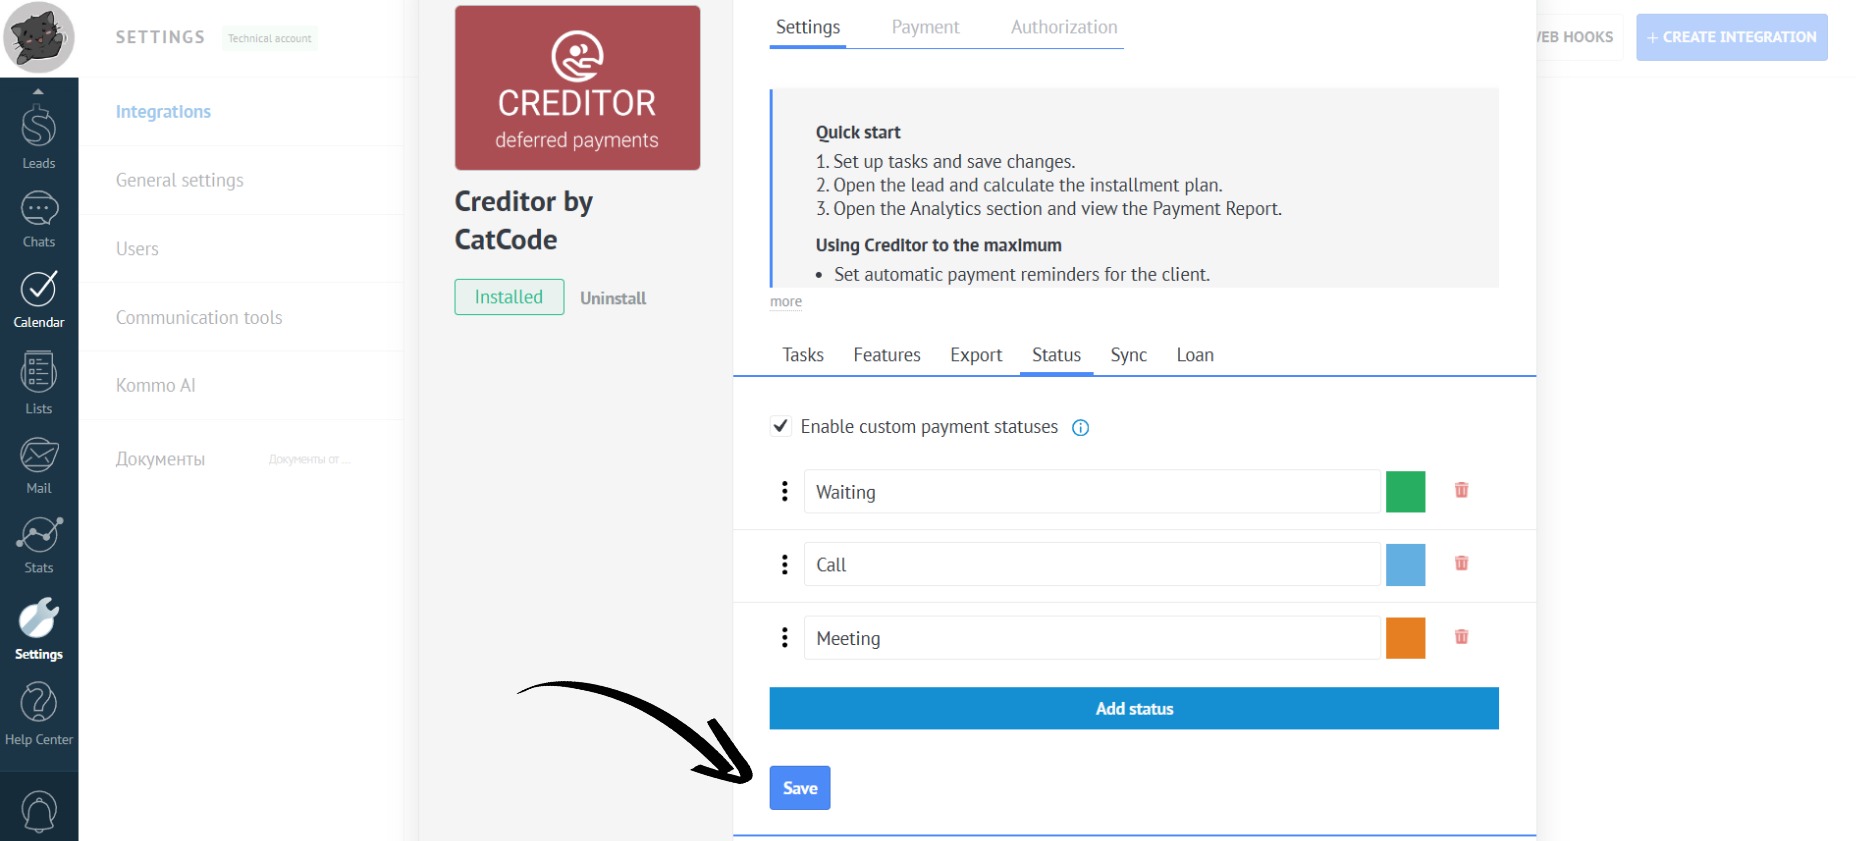
- After entering all the necessary information, click the “Save” button:
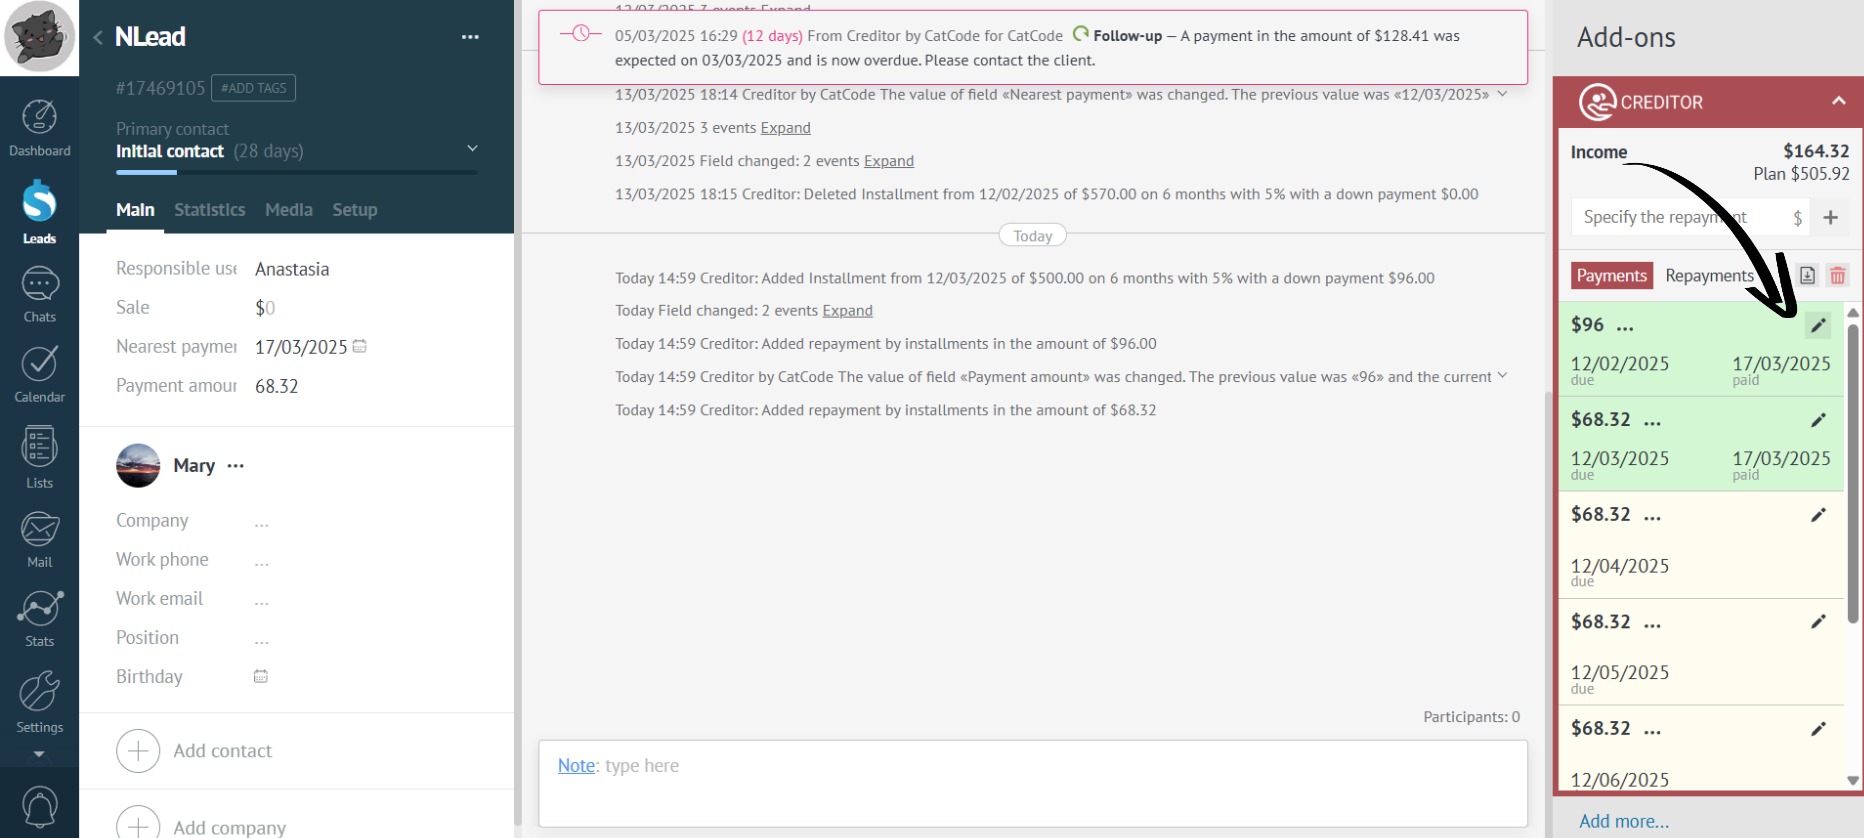
- Now go to the desired lead and click on the payment edit icon to set a custom status for it:
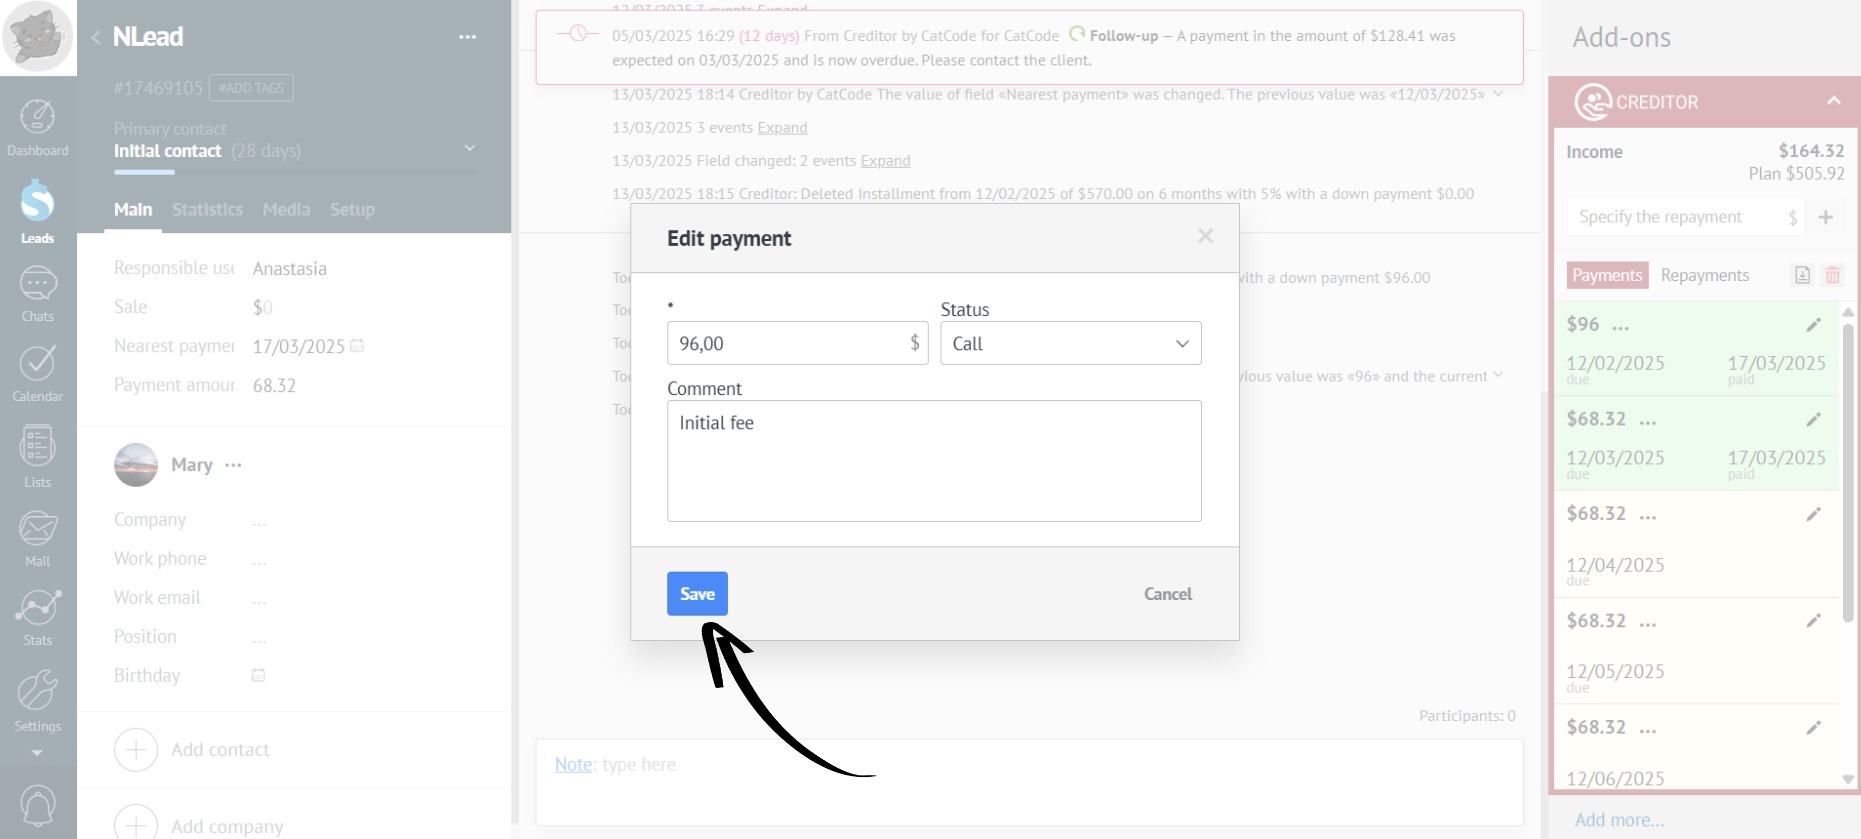
- Select the desired status from the drop-down list:

- Now click the “Save” button:
- Custom statuses are displayed in the lead, with each payment with a custom status highlighted in its own color:
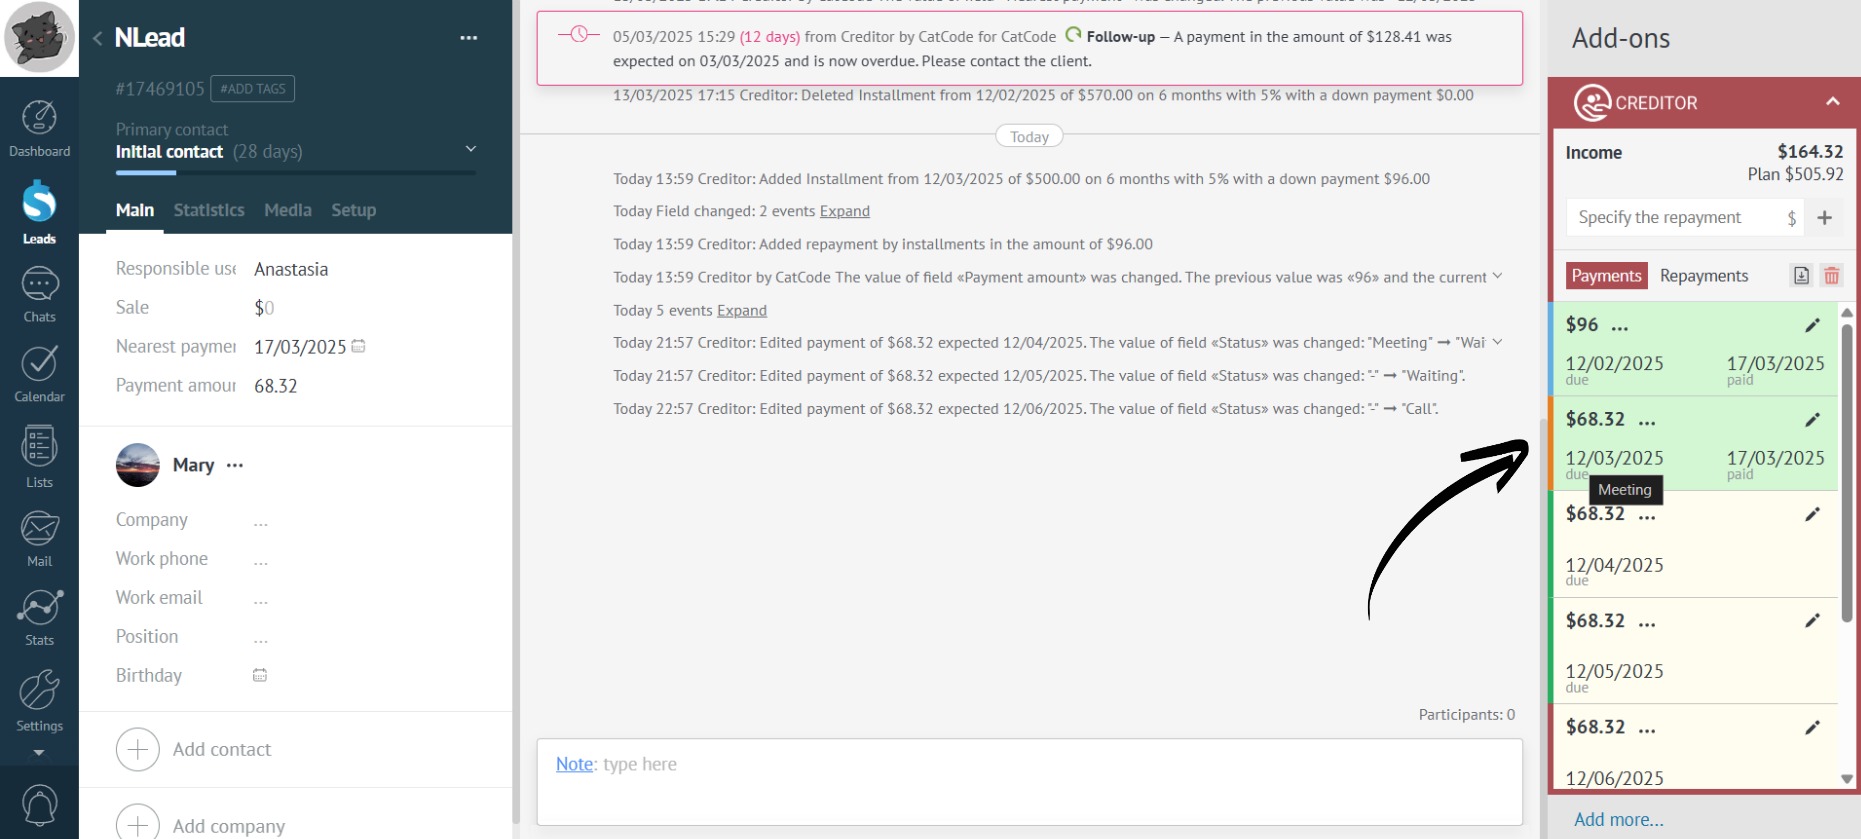
Hovering the mouse over the custom status displays text with the relevant reminder.
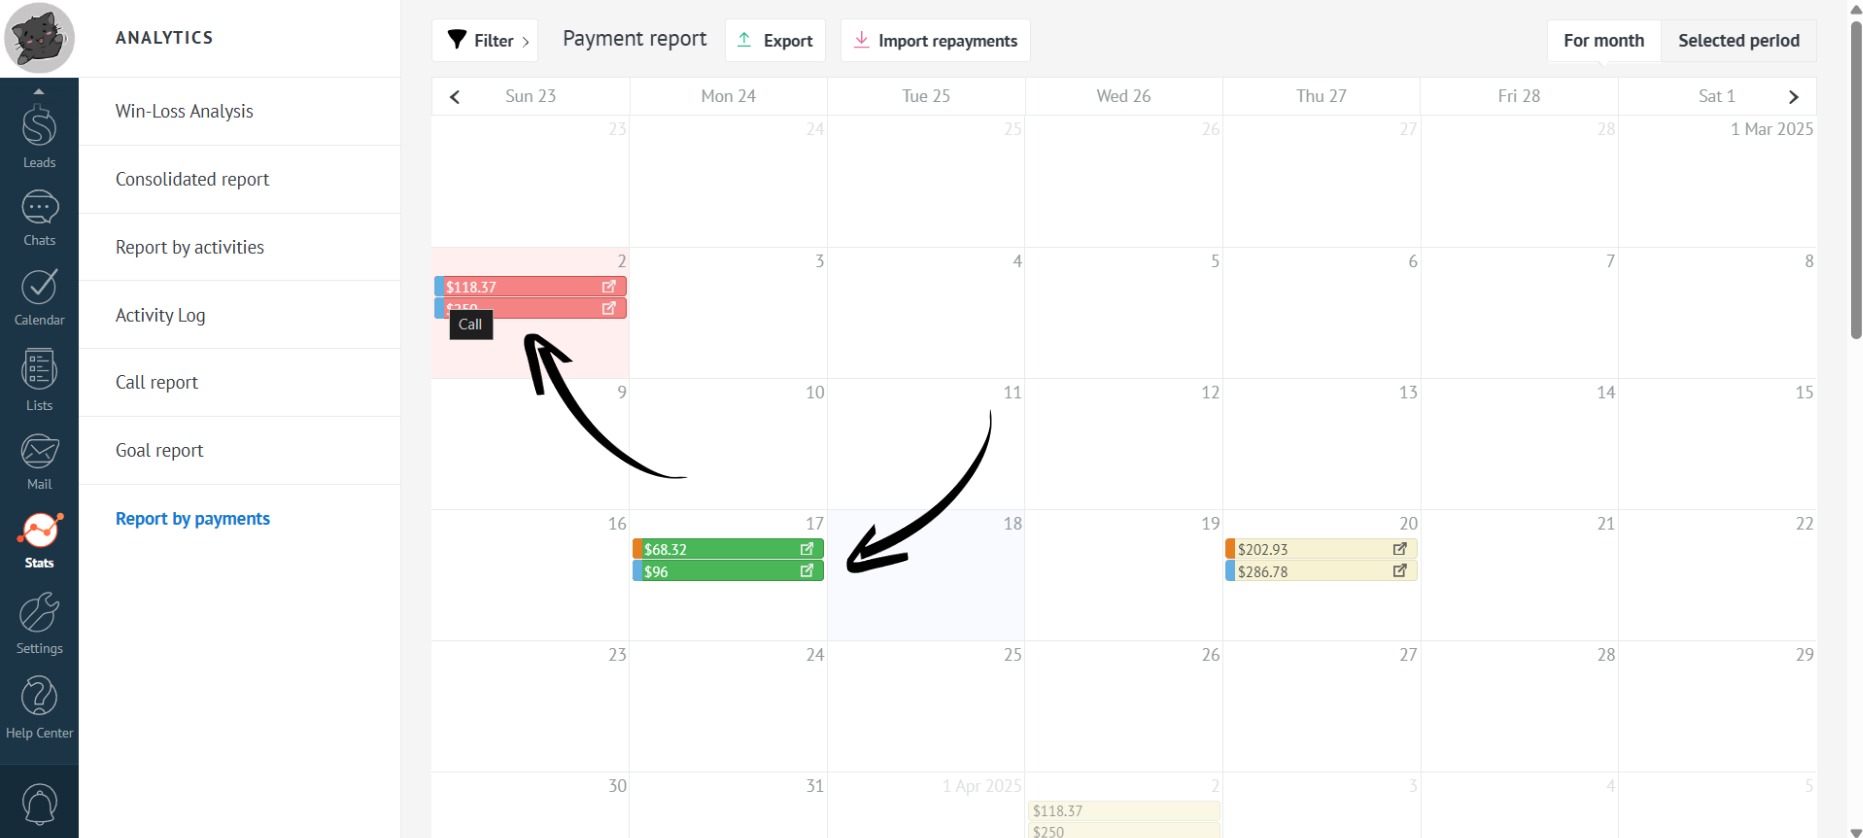
- Custom statuses are also displayed in the “Payment Calendar”:
Possible use cases for custom statuses:
- Creating a pipeline for payments: easily track sales stages using different custom statuses (payment received - green, awaiting response - orange, etc.).
- Using payment options as separate custom statuses: indicate how the payment will be made in the status: by card, transfer, invoice, etc.
- A black custom status can be used as a payment cancellation so you don’t have to return to it.